This post is part of a paid collaboration with Desenio.
After spending the past two weeks packing bags and boxes, I’ve finally moved house. Despite taking a week off work to get everything done, I’m still surrounded by piles of clothes, plates (how are there so many?!) and books, and I’m not sure I’ll ever feel organised again.
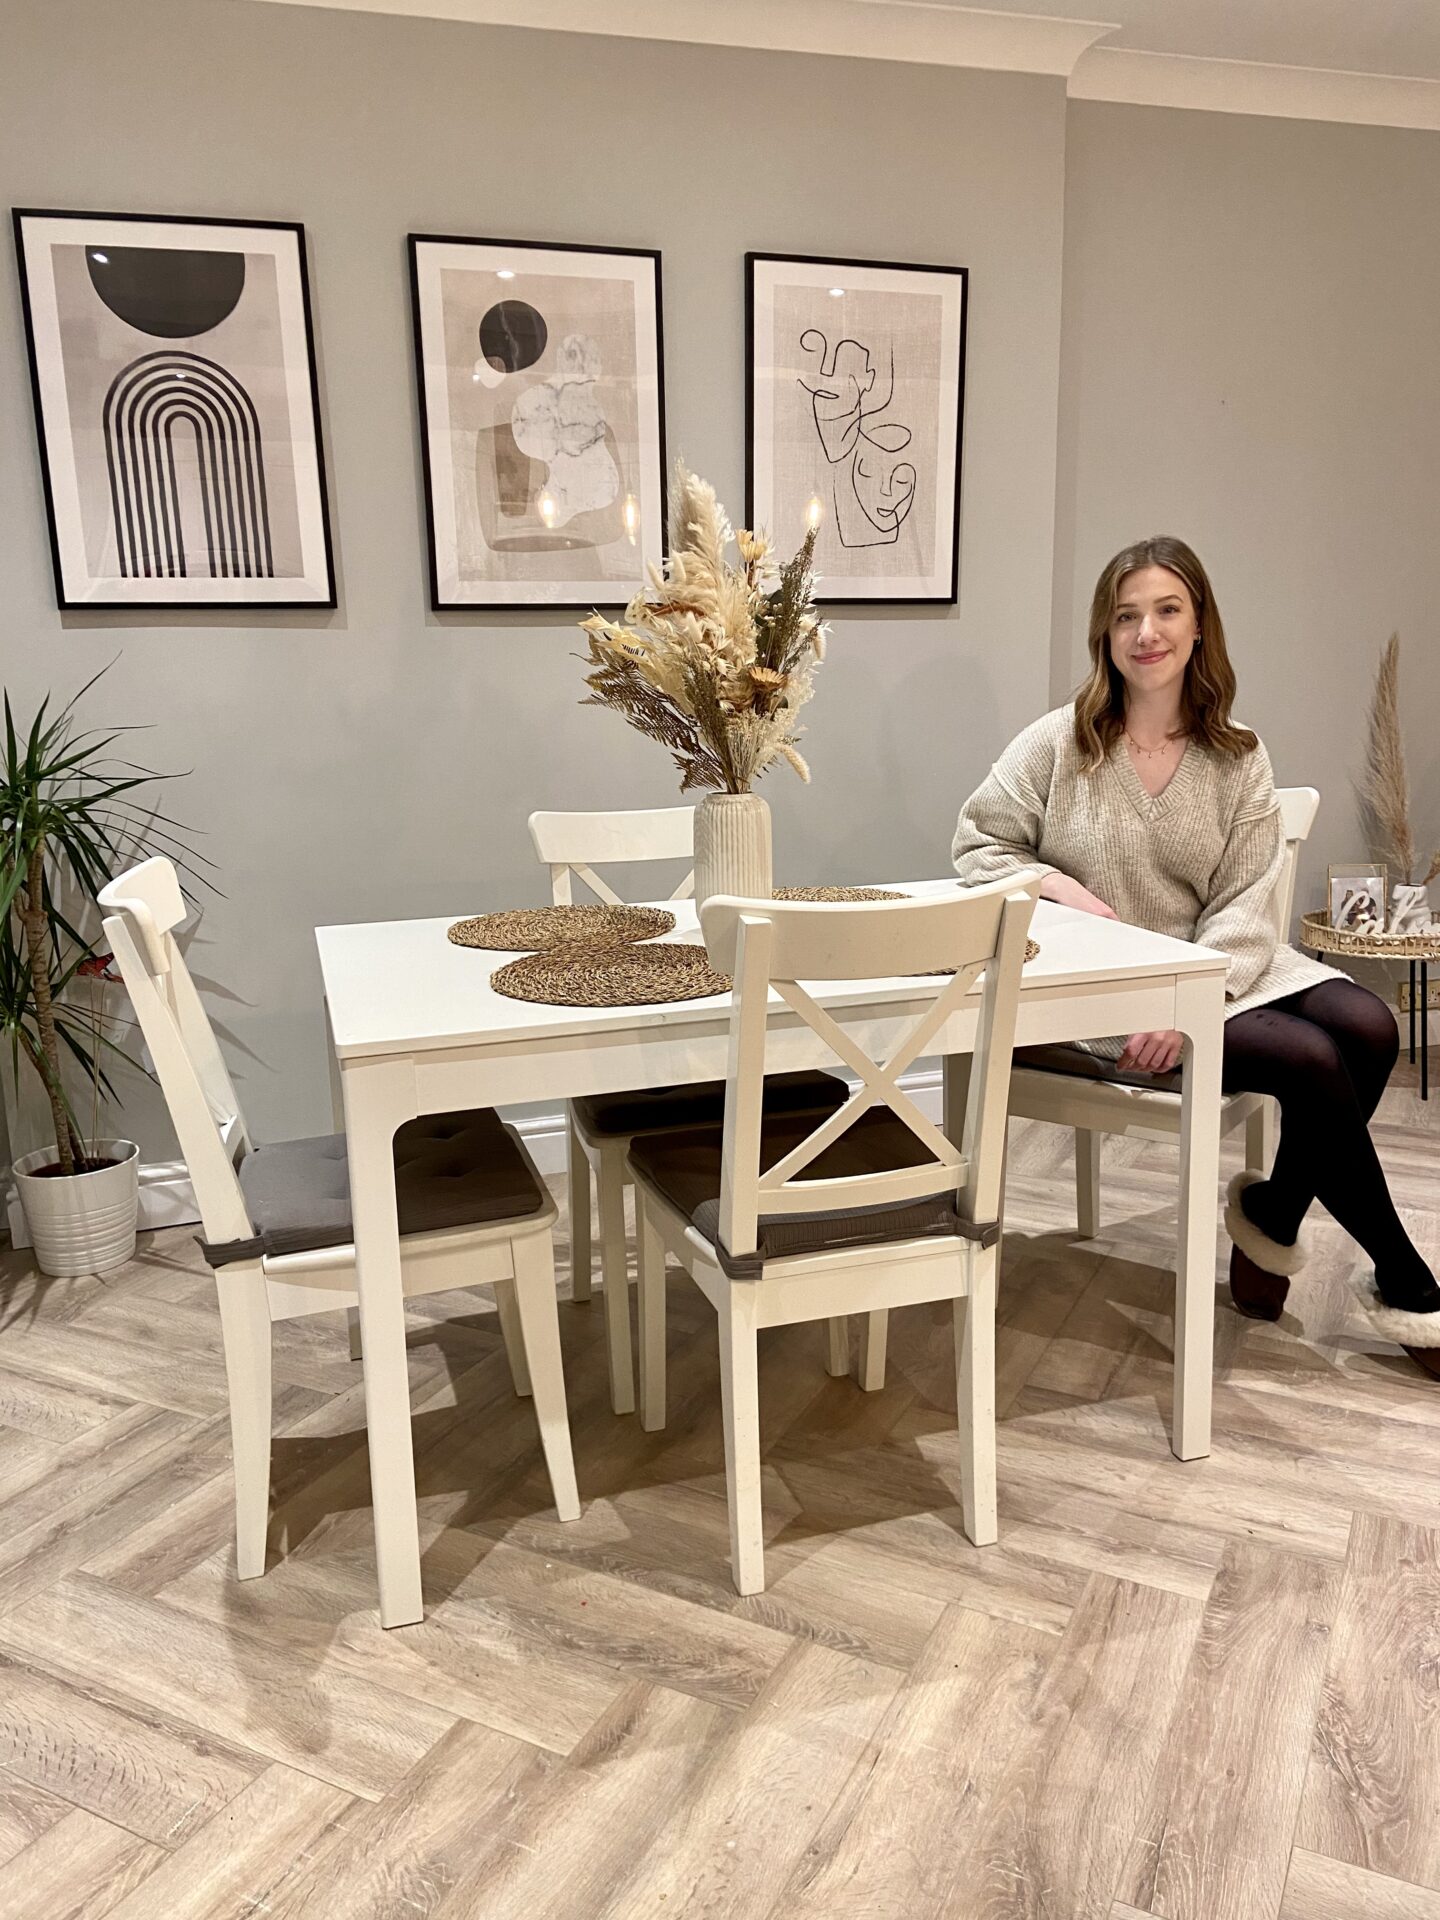
Despite that, I’m very aware that my immediate environment has quite an effect on how I feel. If I’m surrounded by clutter and mess, I find it really hard to relax. So even though it’ll take a while to get everything sorted, I wanted to have just one room that looked nice and that I could sit in without feeling stressed about all of the work that needs to be done.
The easiest room for this was the kitchen/dining room, where most things were packed away already. So when Desenio reached out to me, I knew exactly where I wanted to put their prints.
The wall space is quite large, so I knew I wanted to create a gallery wall of sorts, but I didn’t know how many prints I’d need, what size, what colours I should go for etc. This is where the gallery wall tool on the website came in really handy.
First you select your background, like above a bed or a sofa. Then you select the layout you’d like to go for. There are loads of different options here, so it’s easy to see what sizes work together without trying to figure it out yourself. After that, you select what prints you’d like to use. I favourited lots of different prints that I liked so I could swap them in and see what worked best together, but there’s also suggested products too so you can play around with it a bit. Lastly, you choose the frame and can see the finished gallery wall in all of its glory.
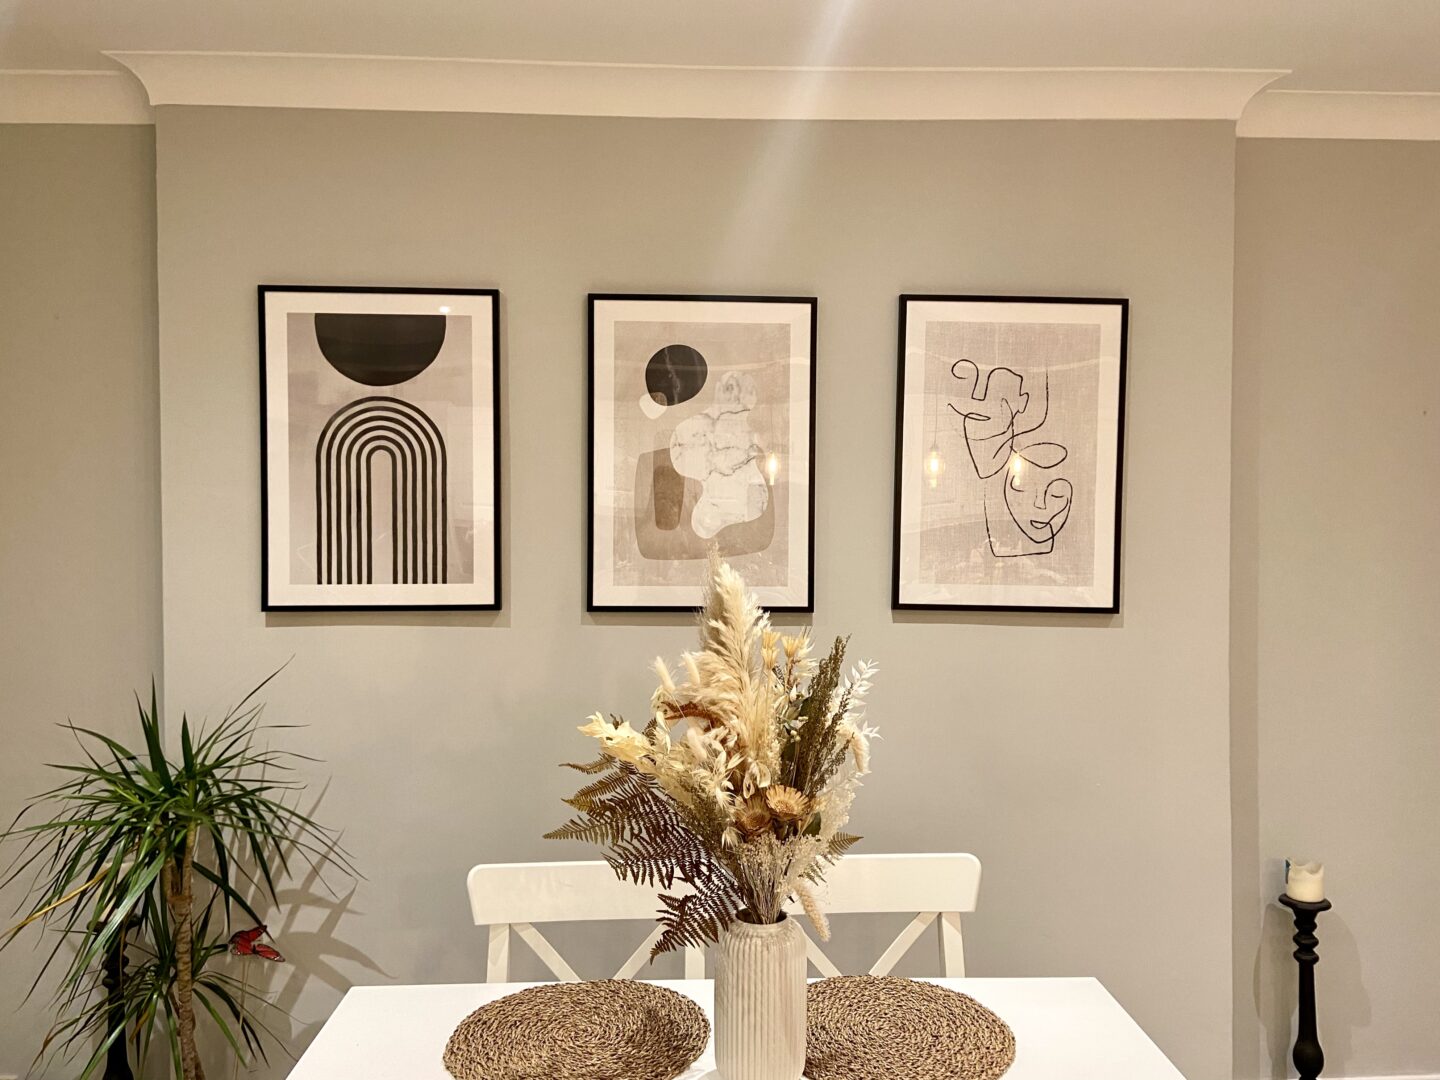
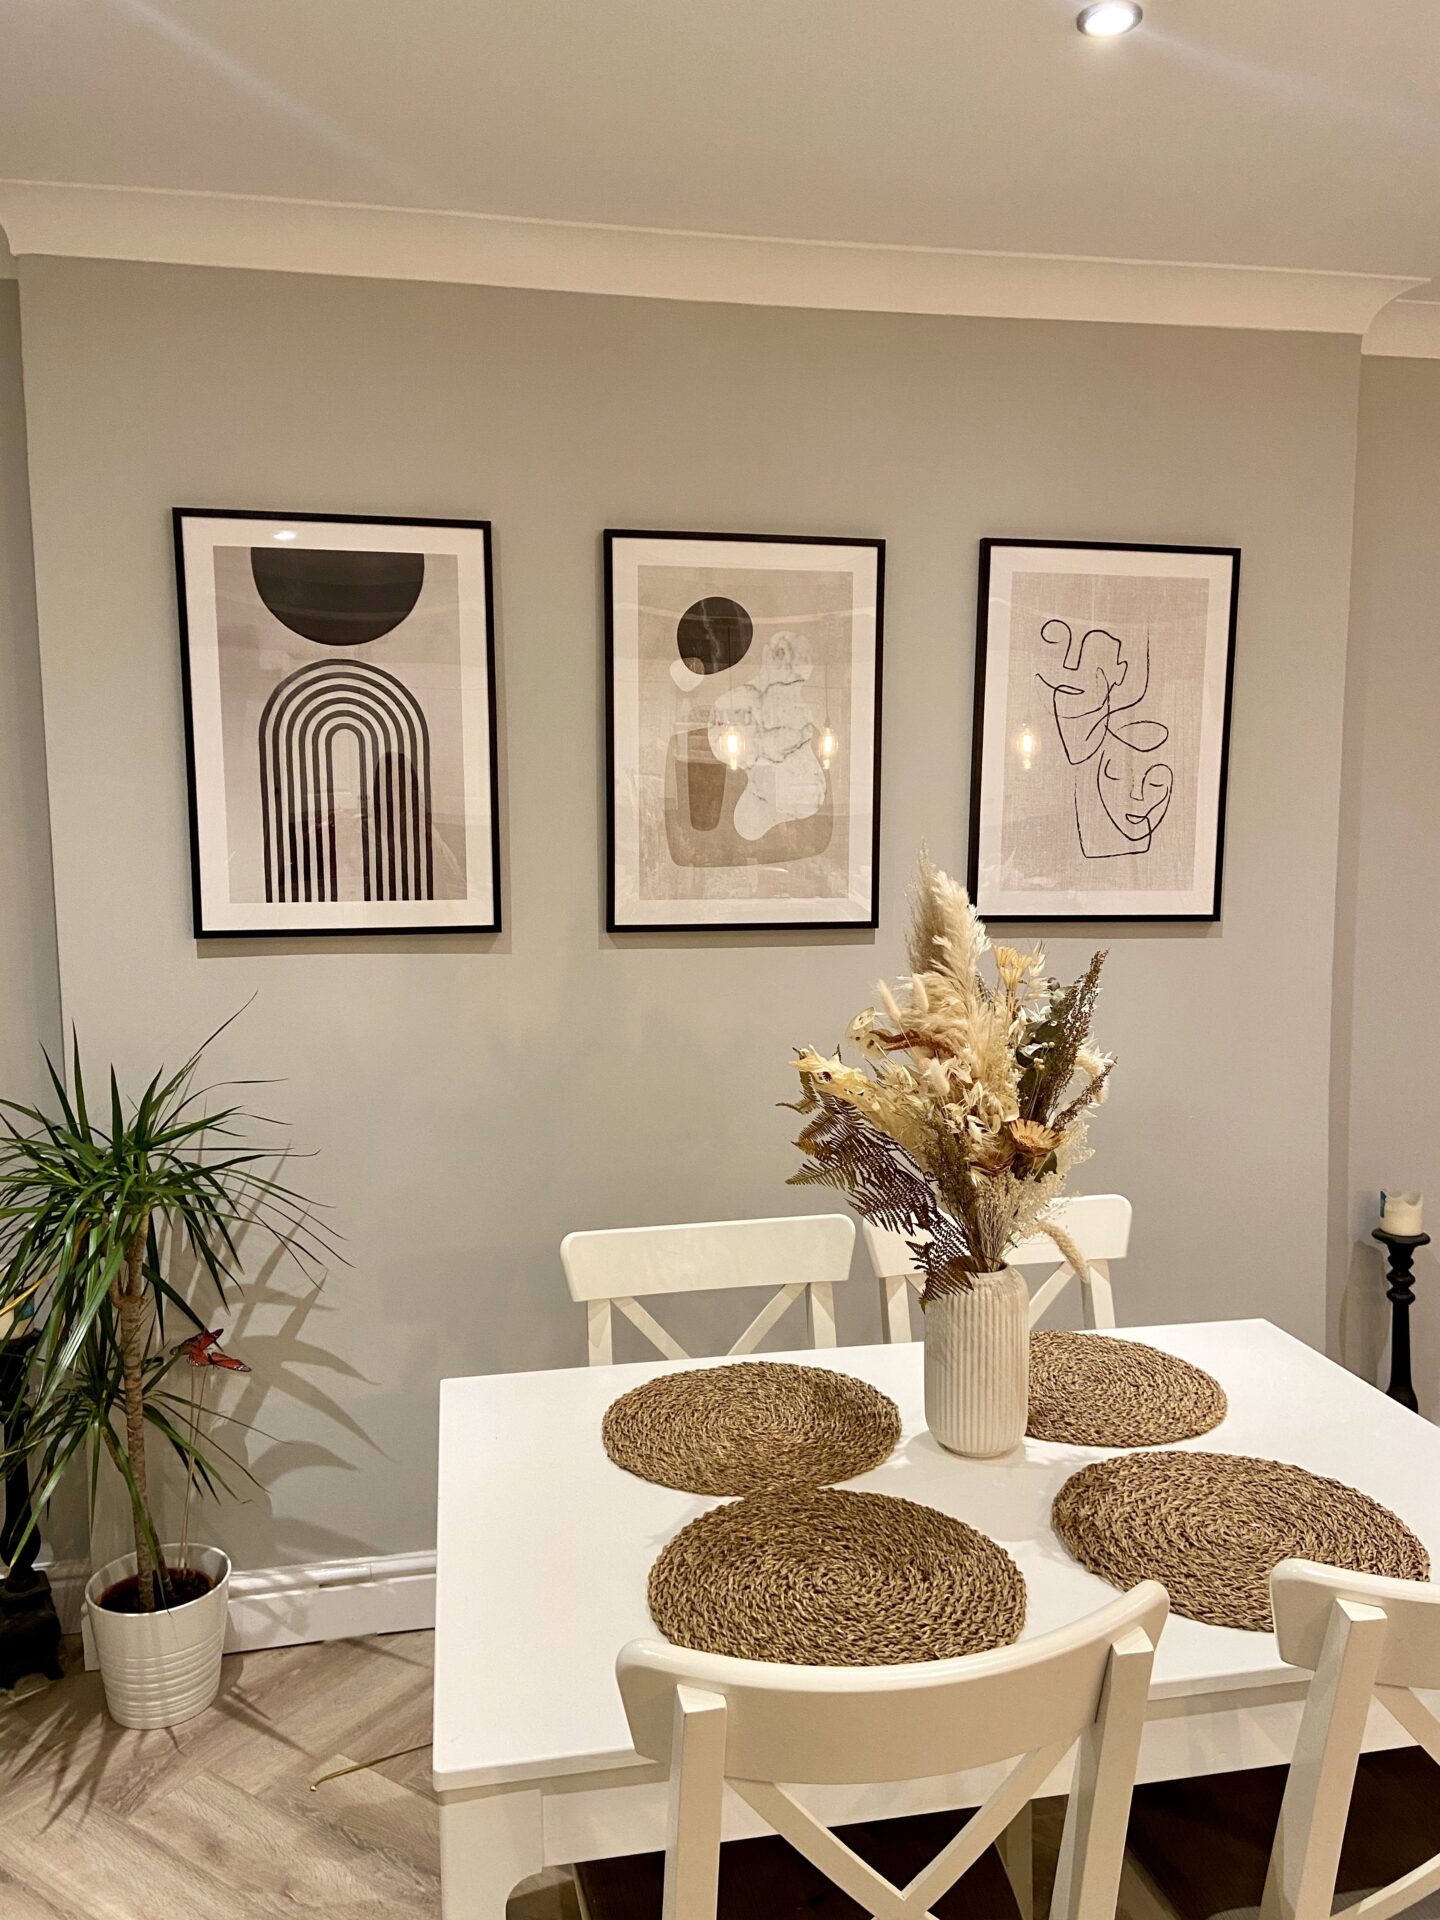
The prints I chose are the Berlin Arches No2, Interior Shapes No3 and Texture Line Faces. I got them in 50cm x 70cm, and a black frame for each. With something like prints, I think it can be really hard to see how they’ll look together if you’re just flicking from tab to tab, so the gallery wall tool was really useful in terms of seeing how the different colours worked side by side.
Now that they’re up (which surprisingly wasn’t too difficult to do), I’m so happy with how they look. Every other room in the house might be filled with plastic boxes and black bags but, for now, at least I have somewhere nice to sit down with a coffee… or glass of wine.