After a year and a half of waiting following their engagement, three weeks ago all of my family and I went to my aunt and uncle’s wedding. It was all we could talk about for months, so when the day finally arrived we were so excited! It was such a beautiful day, with an amazing ceremony and reception, so much so that I wish I had a wedding to go to every few weeks!
It was great getting to spend time with all of my family, not to mention getting ready for the big day. I thought I’d share with you what I wore, how I did my hair and what I used to do my makeup. Although summer wedding season is over now, it’s never too early to start getting ready for next year, right?

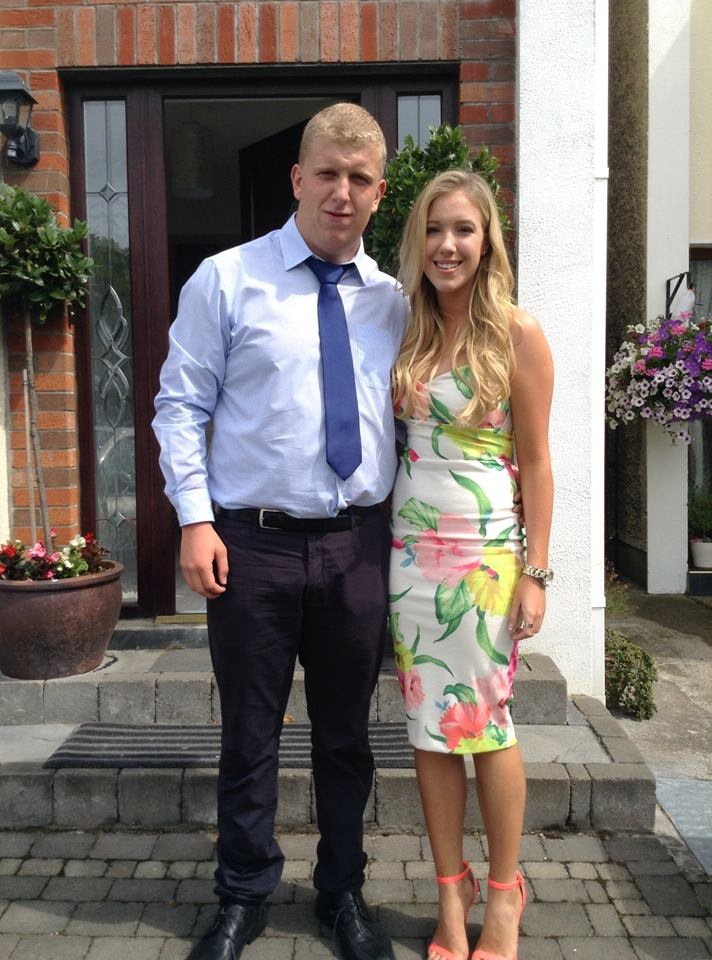
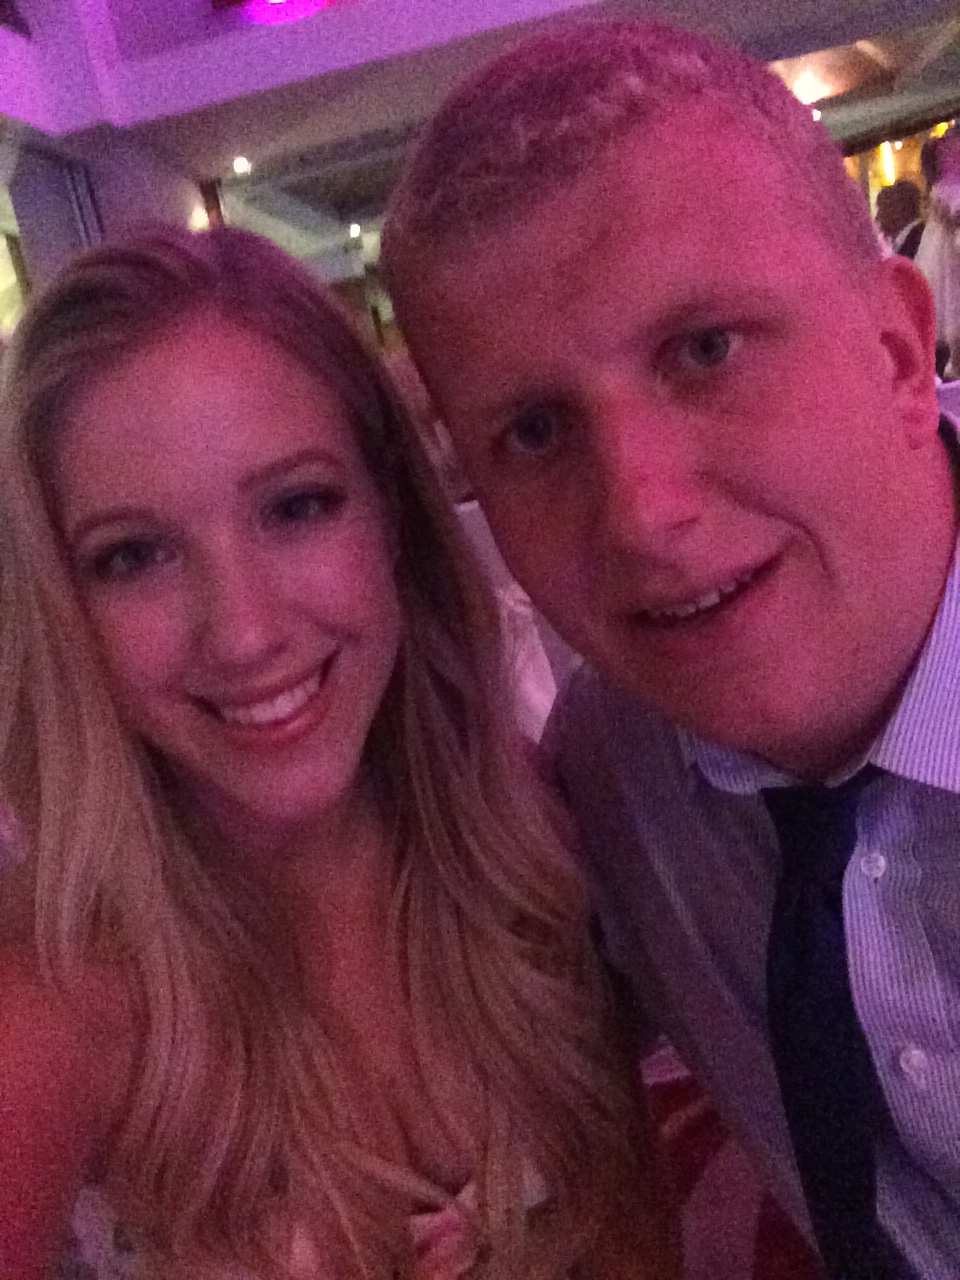
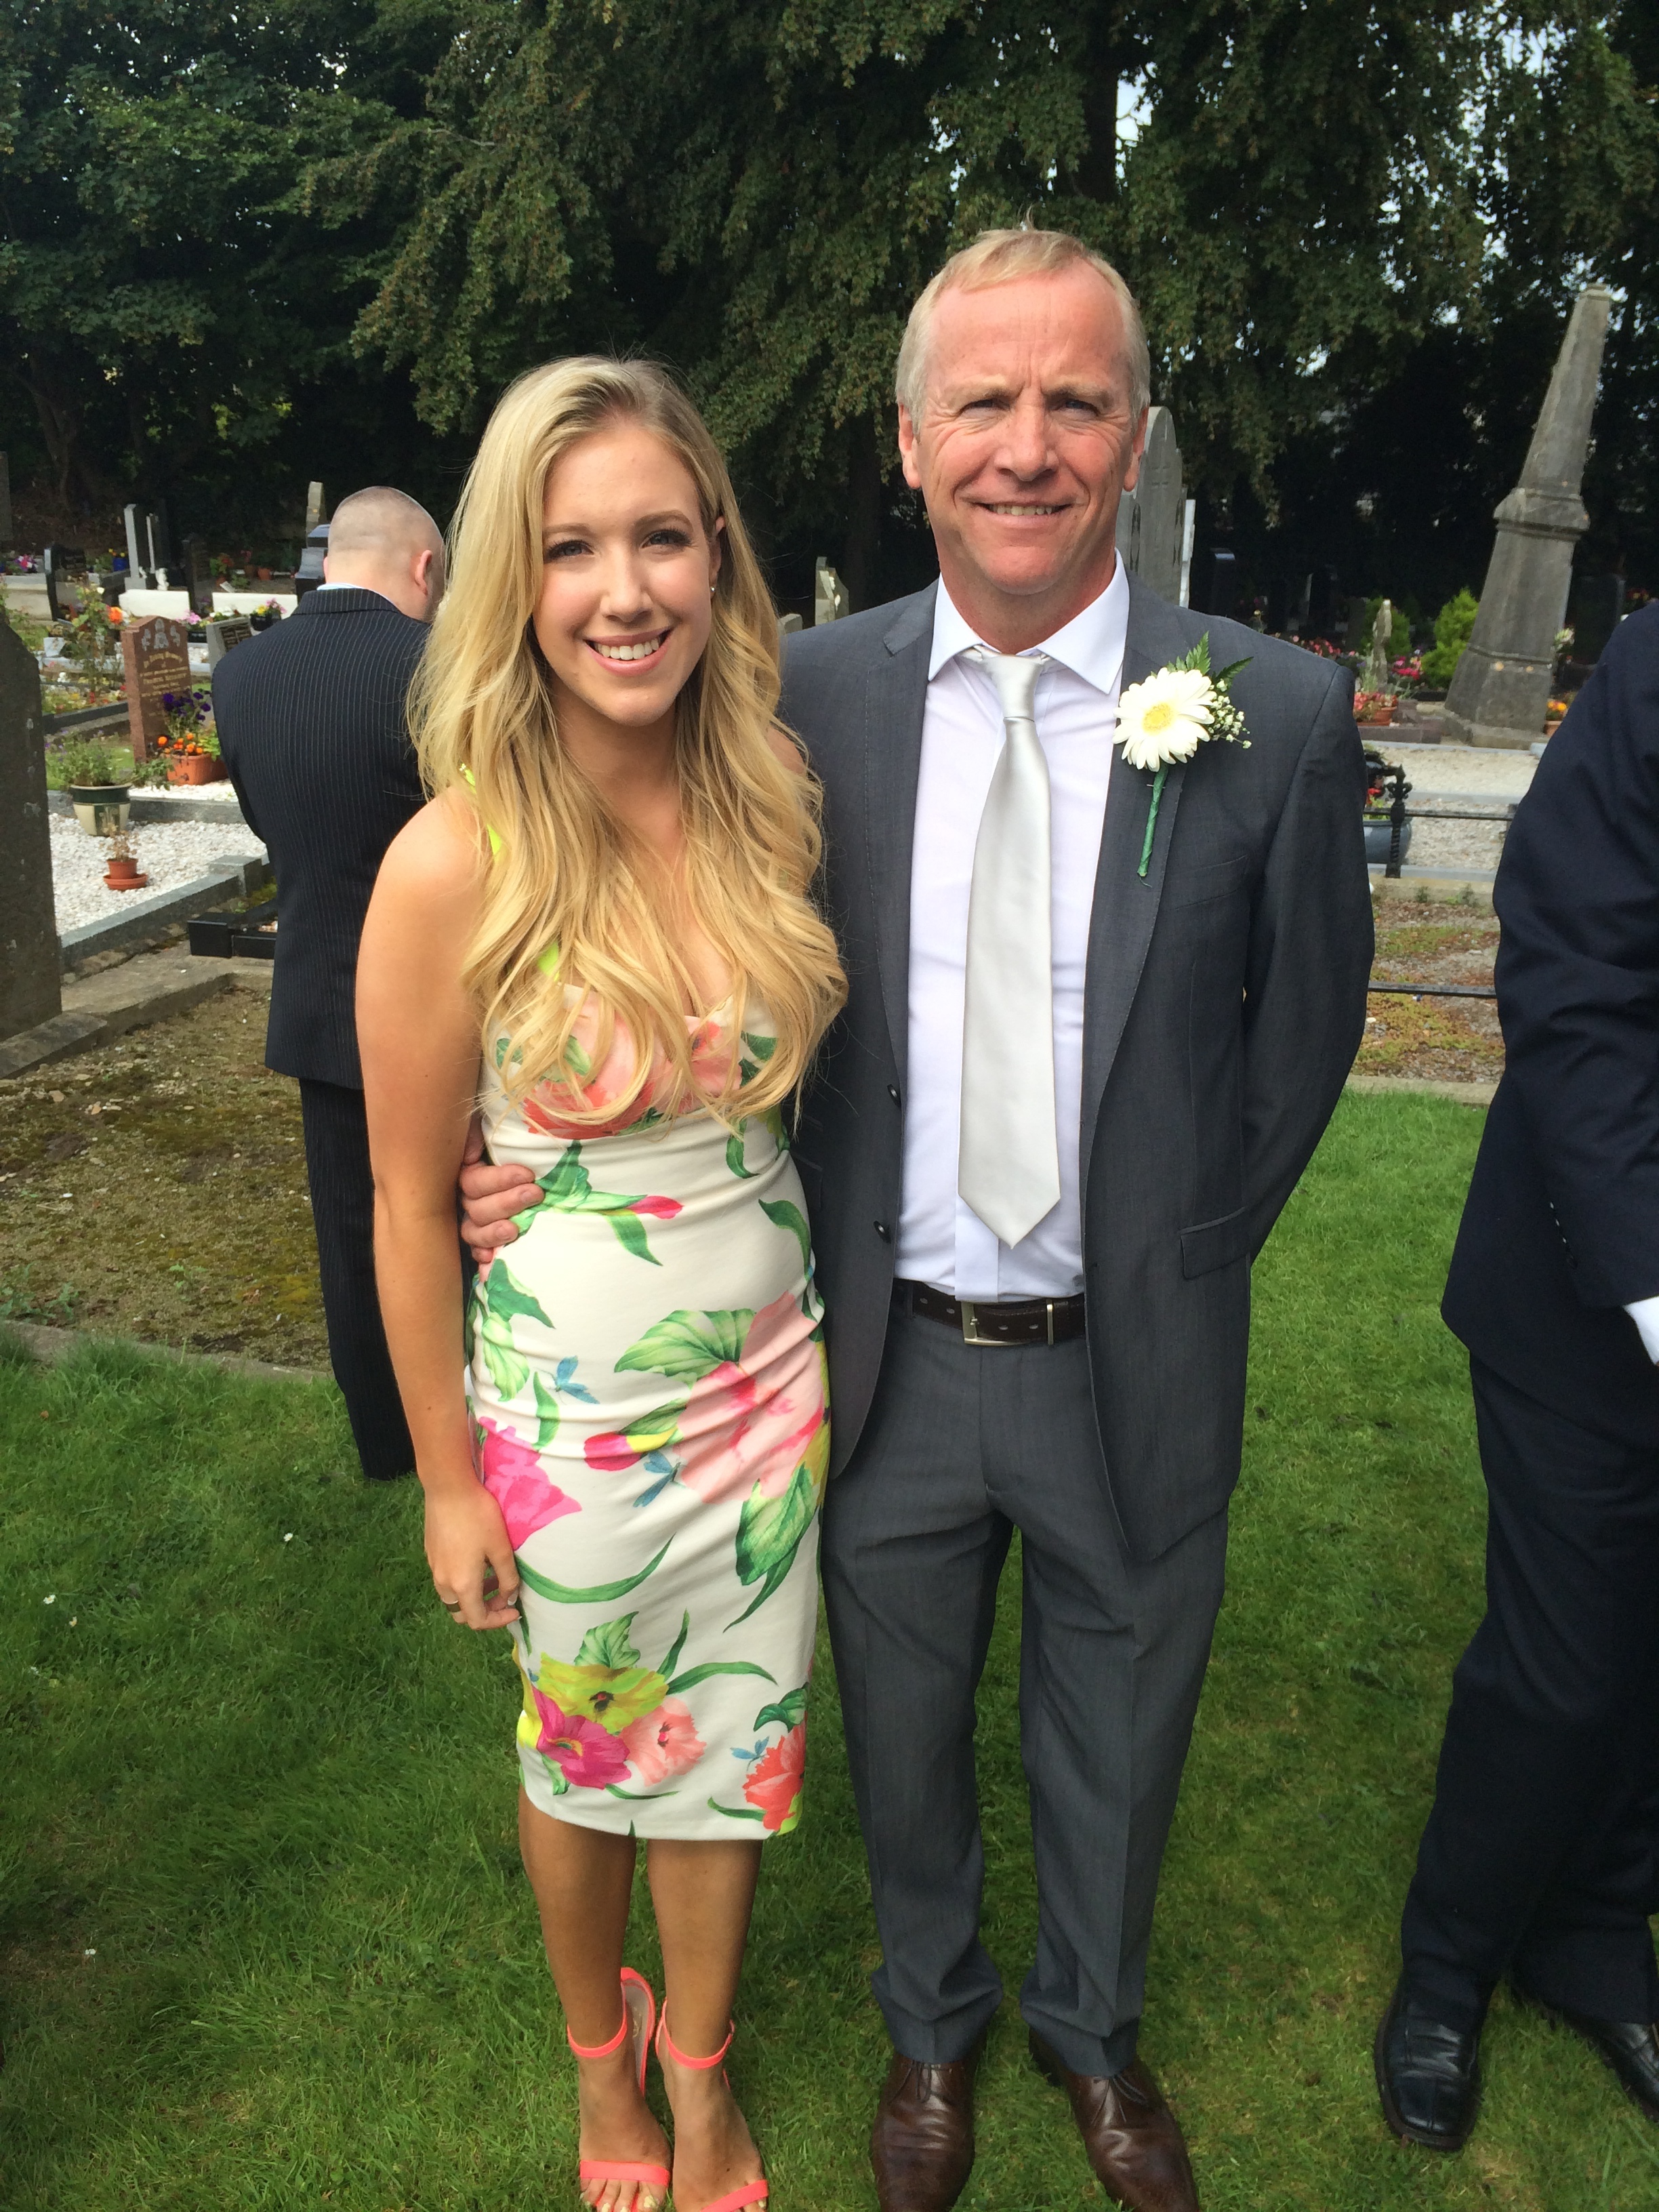
Pictured above is me with my dad and my boyfriend George. Don’t they scrub up well?! My dad was best man so he was in front of the camera all day long, he’s so photogenic! George’s trousers ripped that night at the dance when he squatted too hard, it was absolutely hilarious!
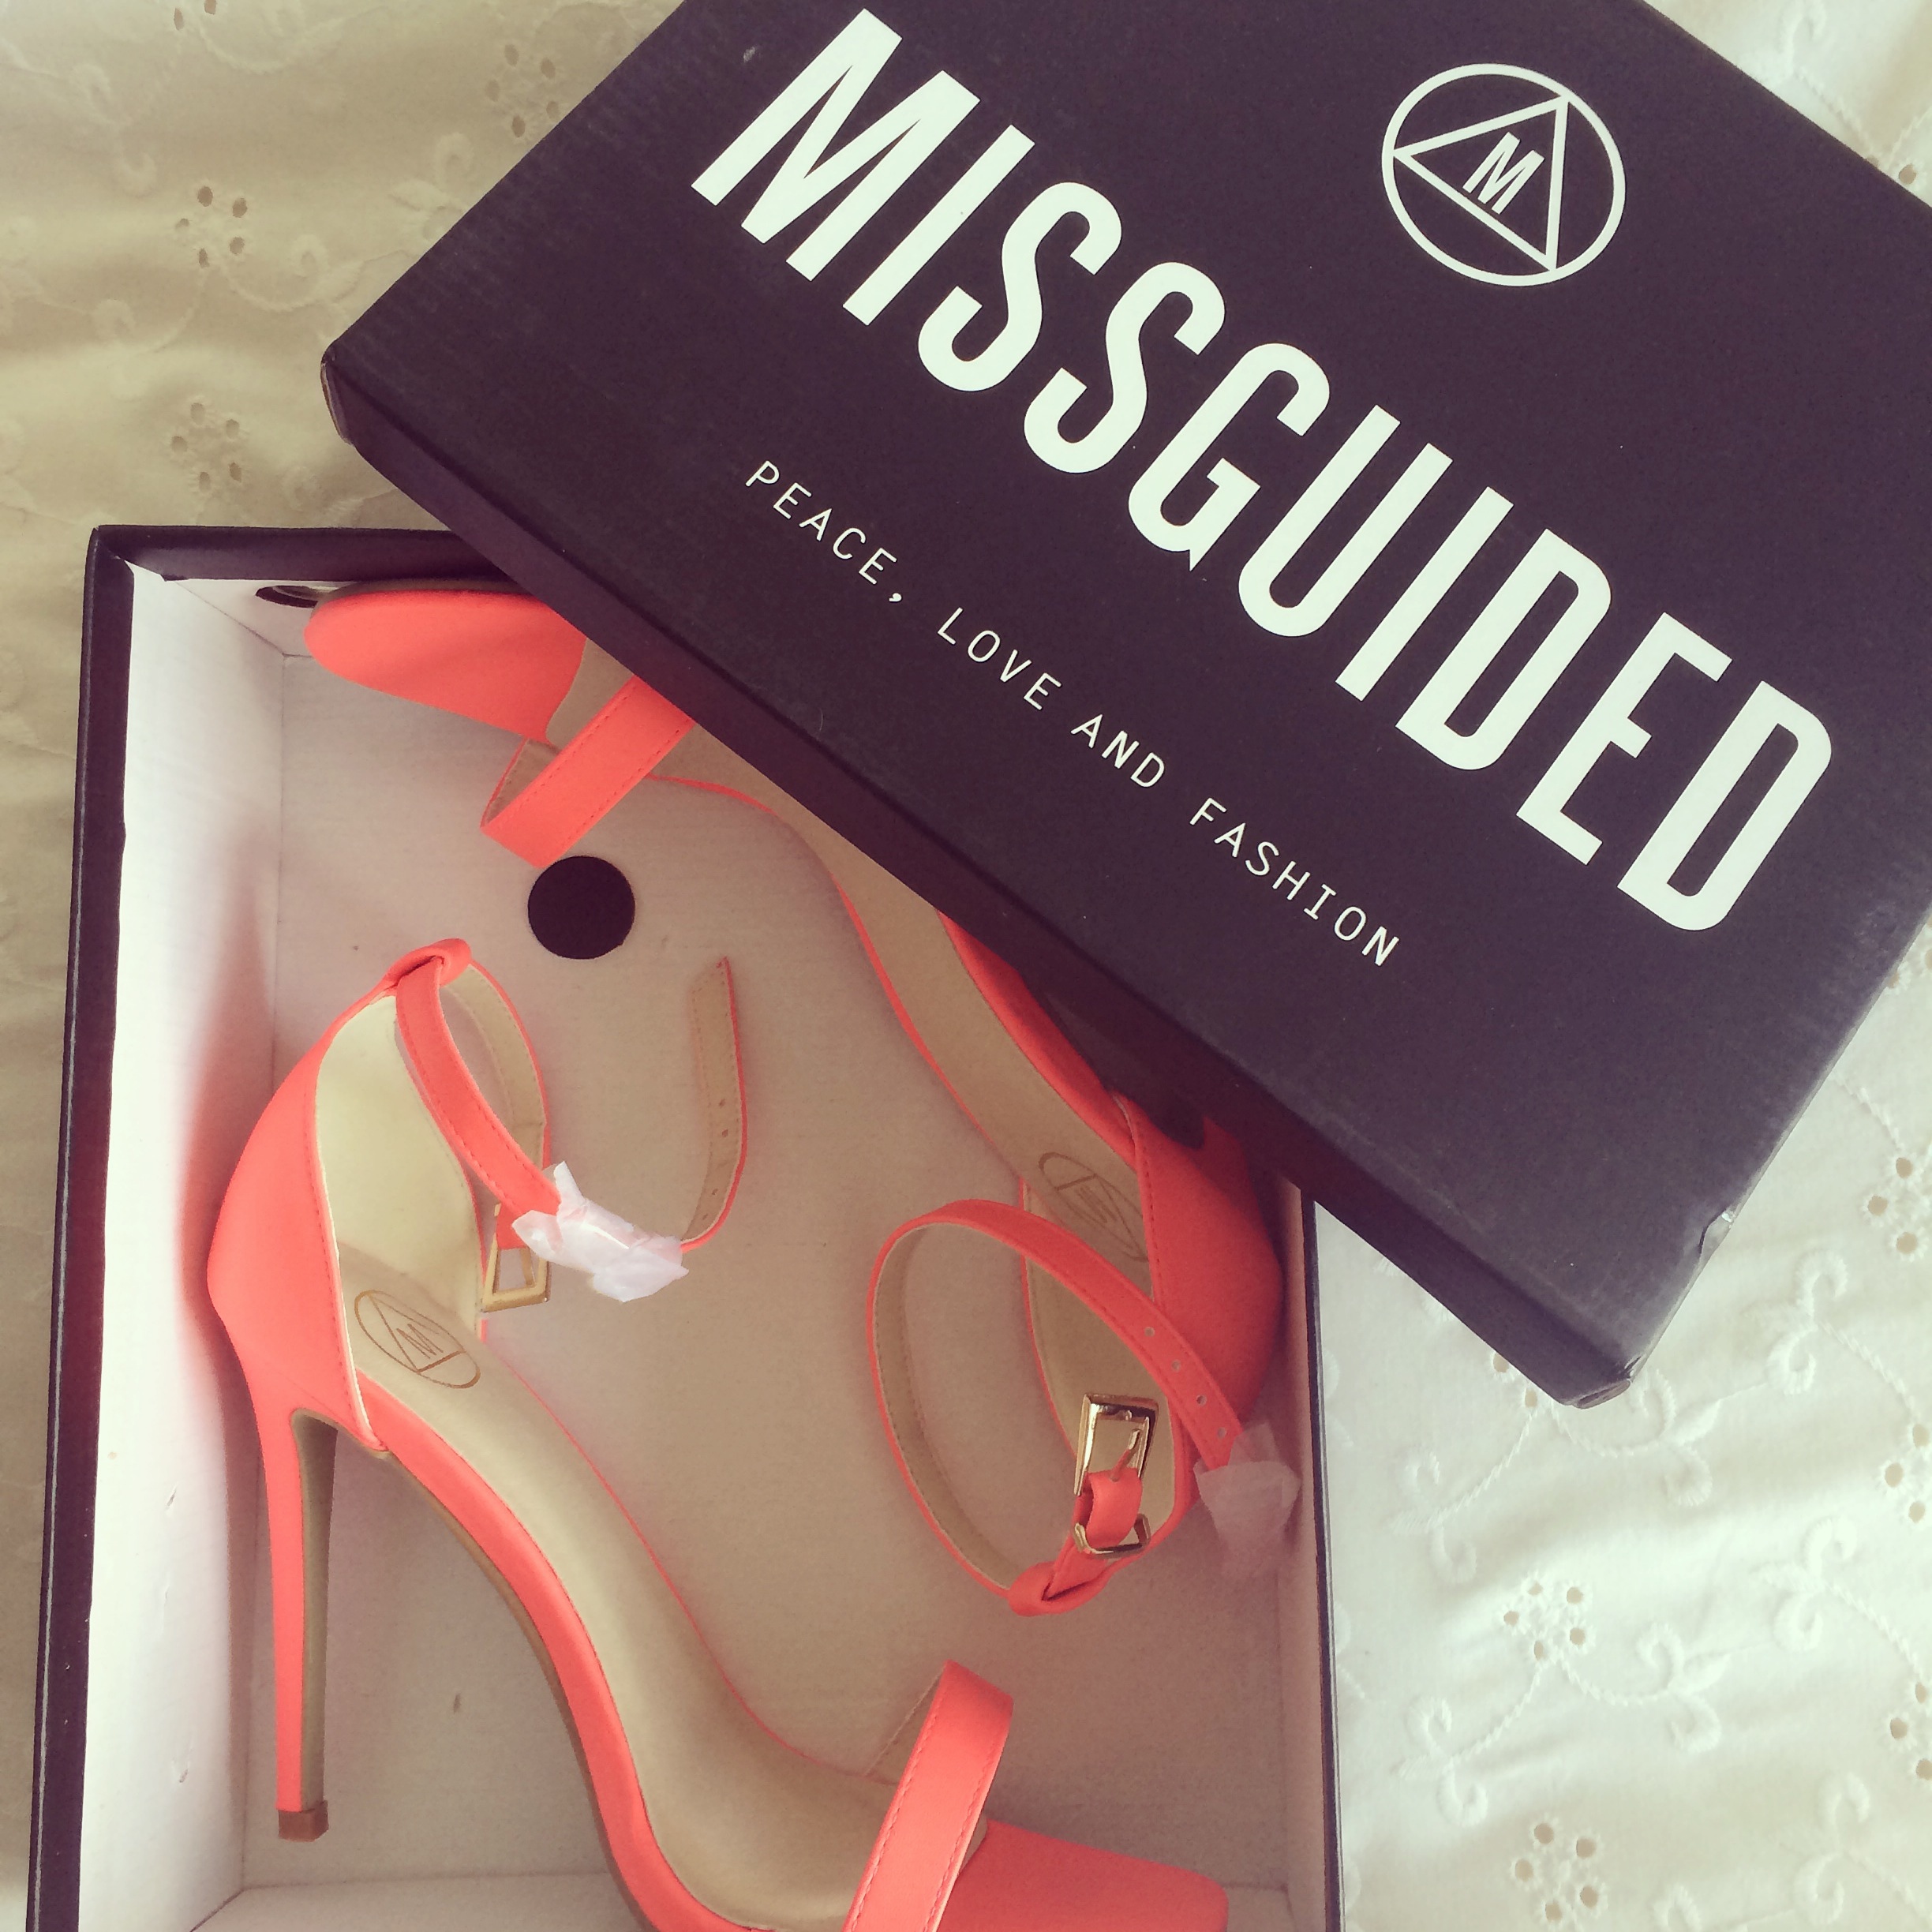
I picked up my dress in Ted Baker about six weeks before the wedding. As soon as I saw it I knew that it was The One. It was knee length, summery and appropriate for a family wedding. I’m not used to wearing dresses that style at all, but after wearing it I know it won’t be the last time! I ordered my shoes from Missguided, which matched perfectly with the dress. They were so comfortable that I wore them for 13 hours straight without any pain at all! I didn’t wear much jewellery, just a small pair of stud earrings and my gold and silver Guess watch. I had a nude and gold clutch from Penneys which fitted everything I needed in it perfectly.
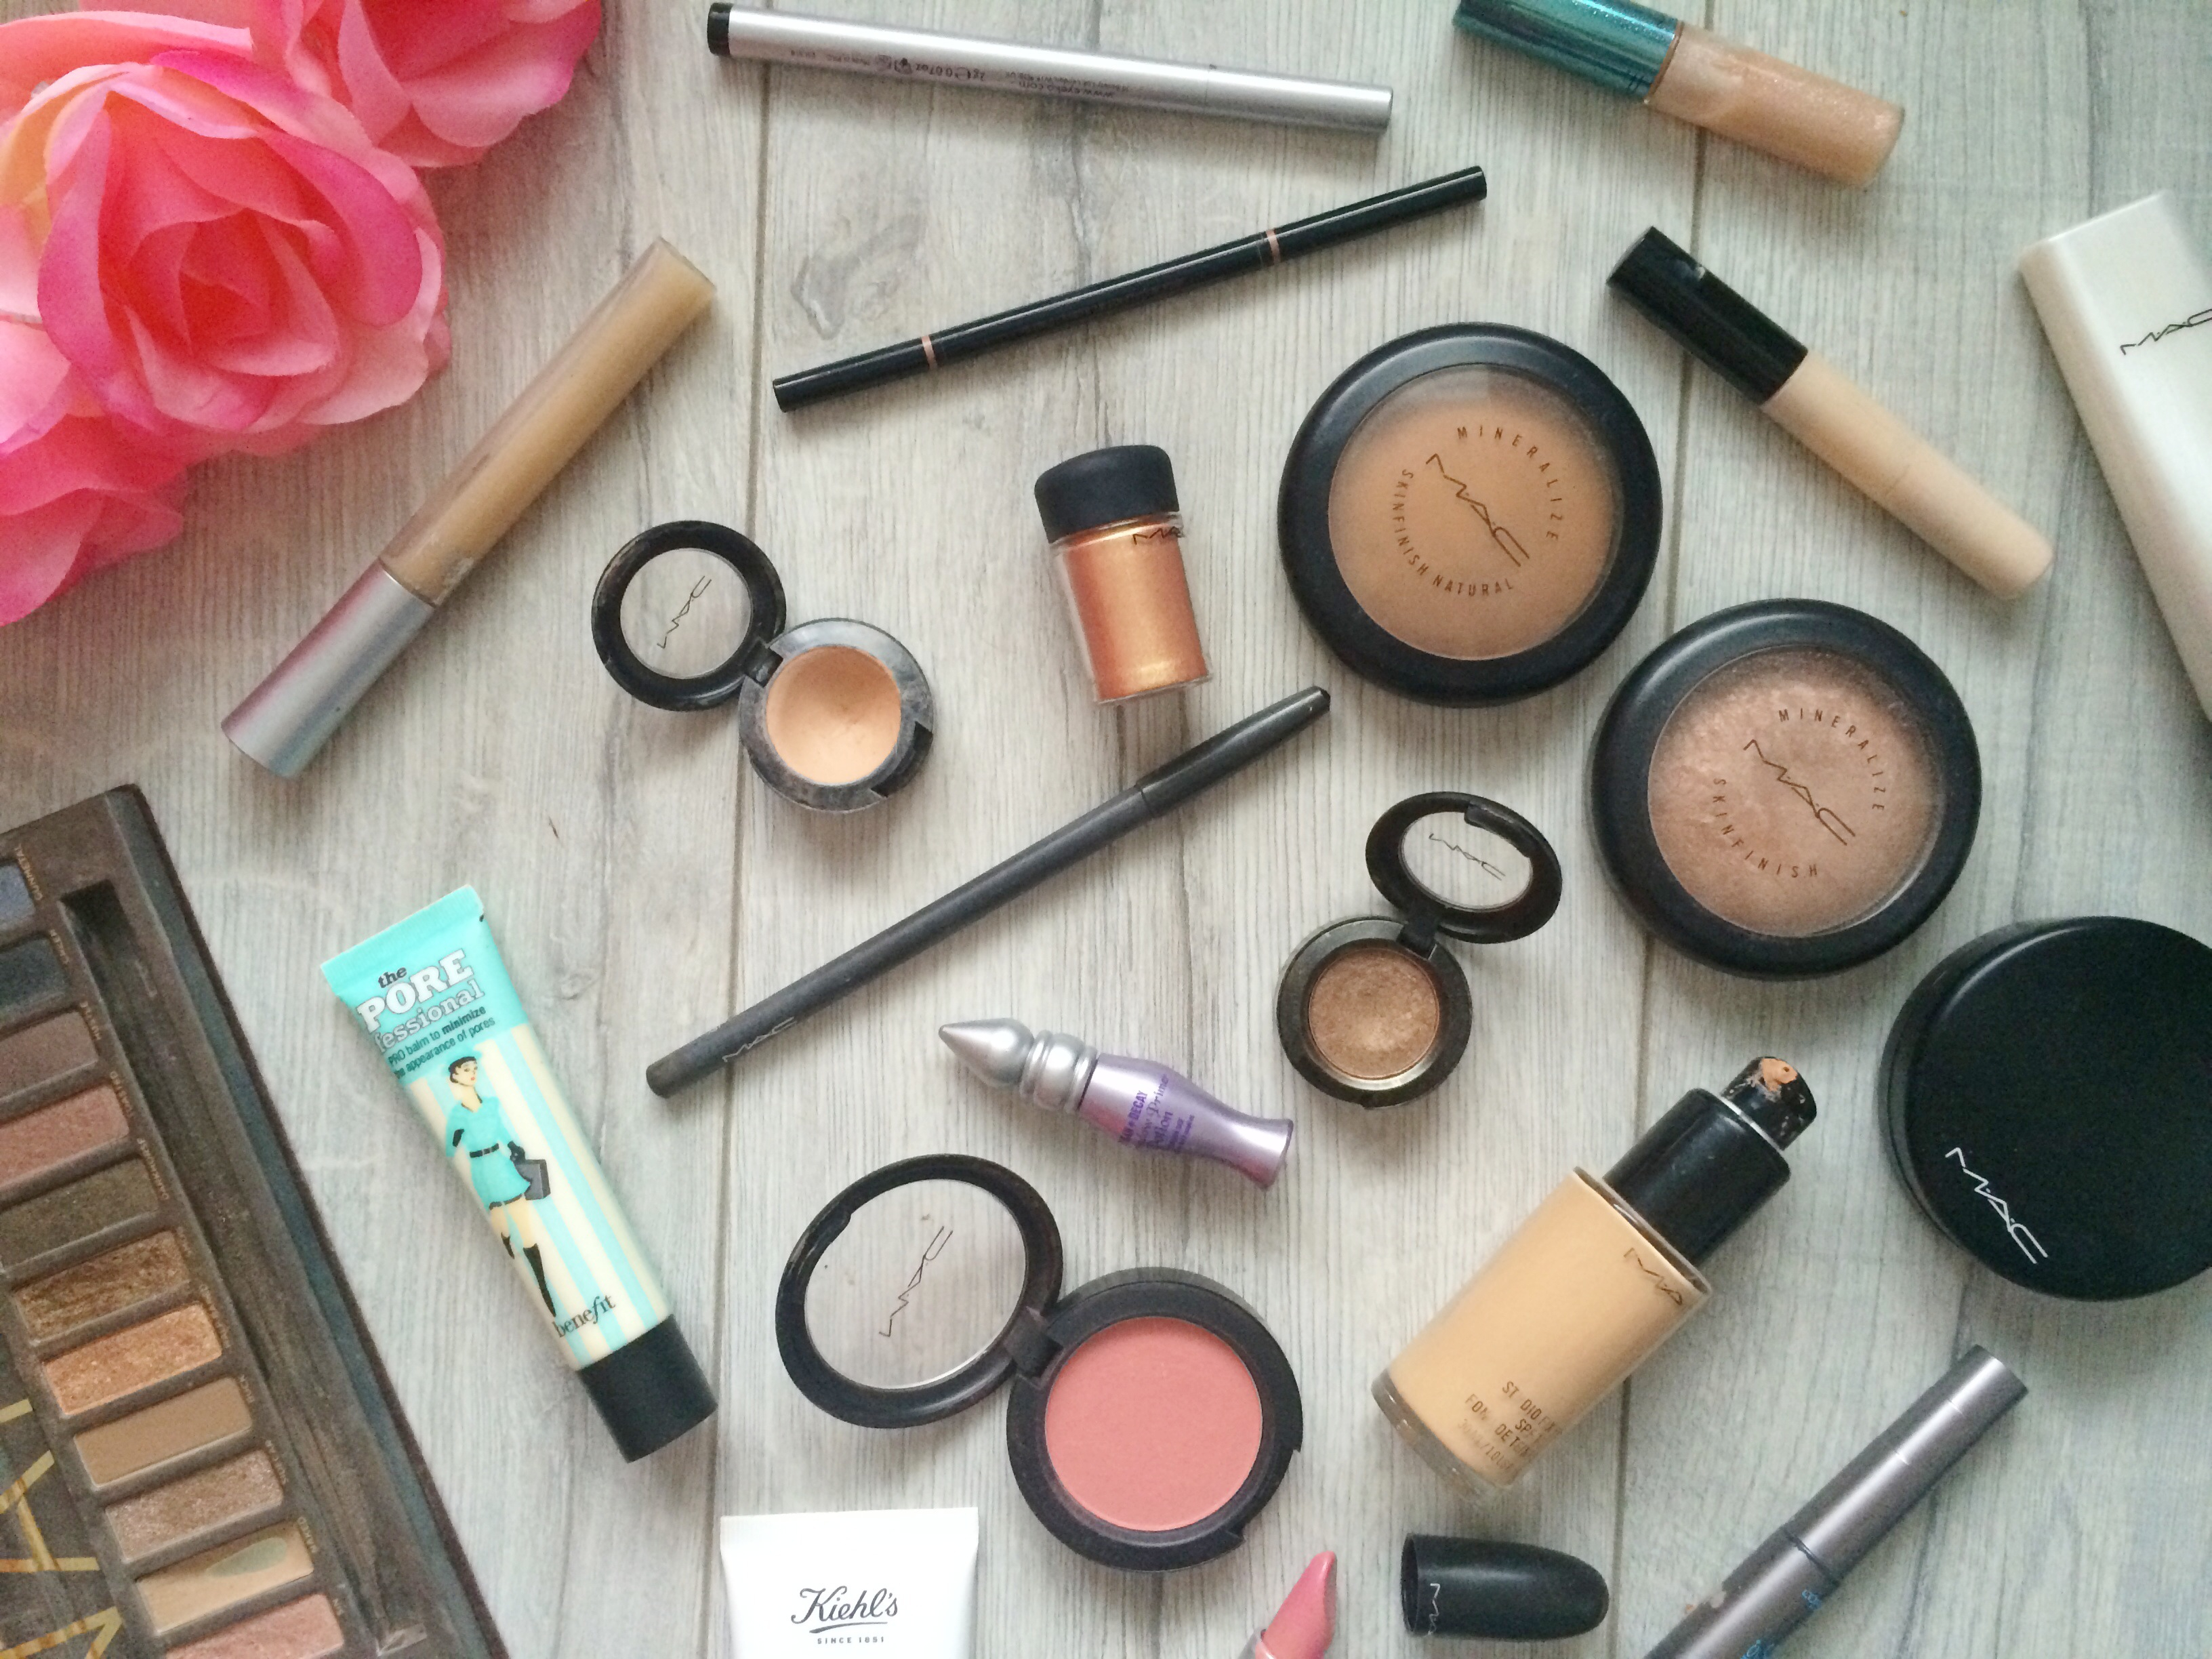
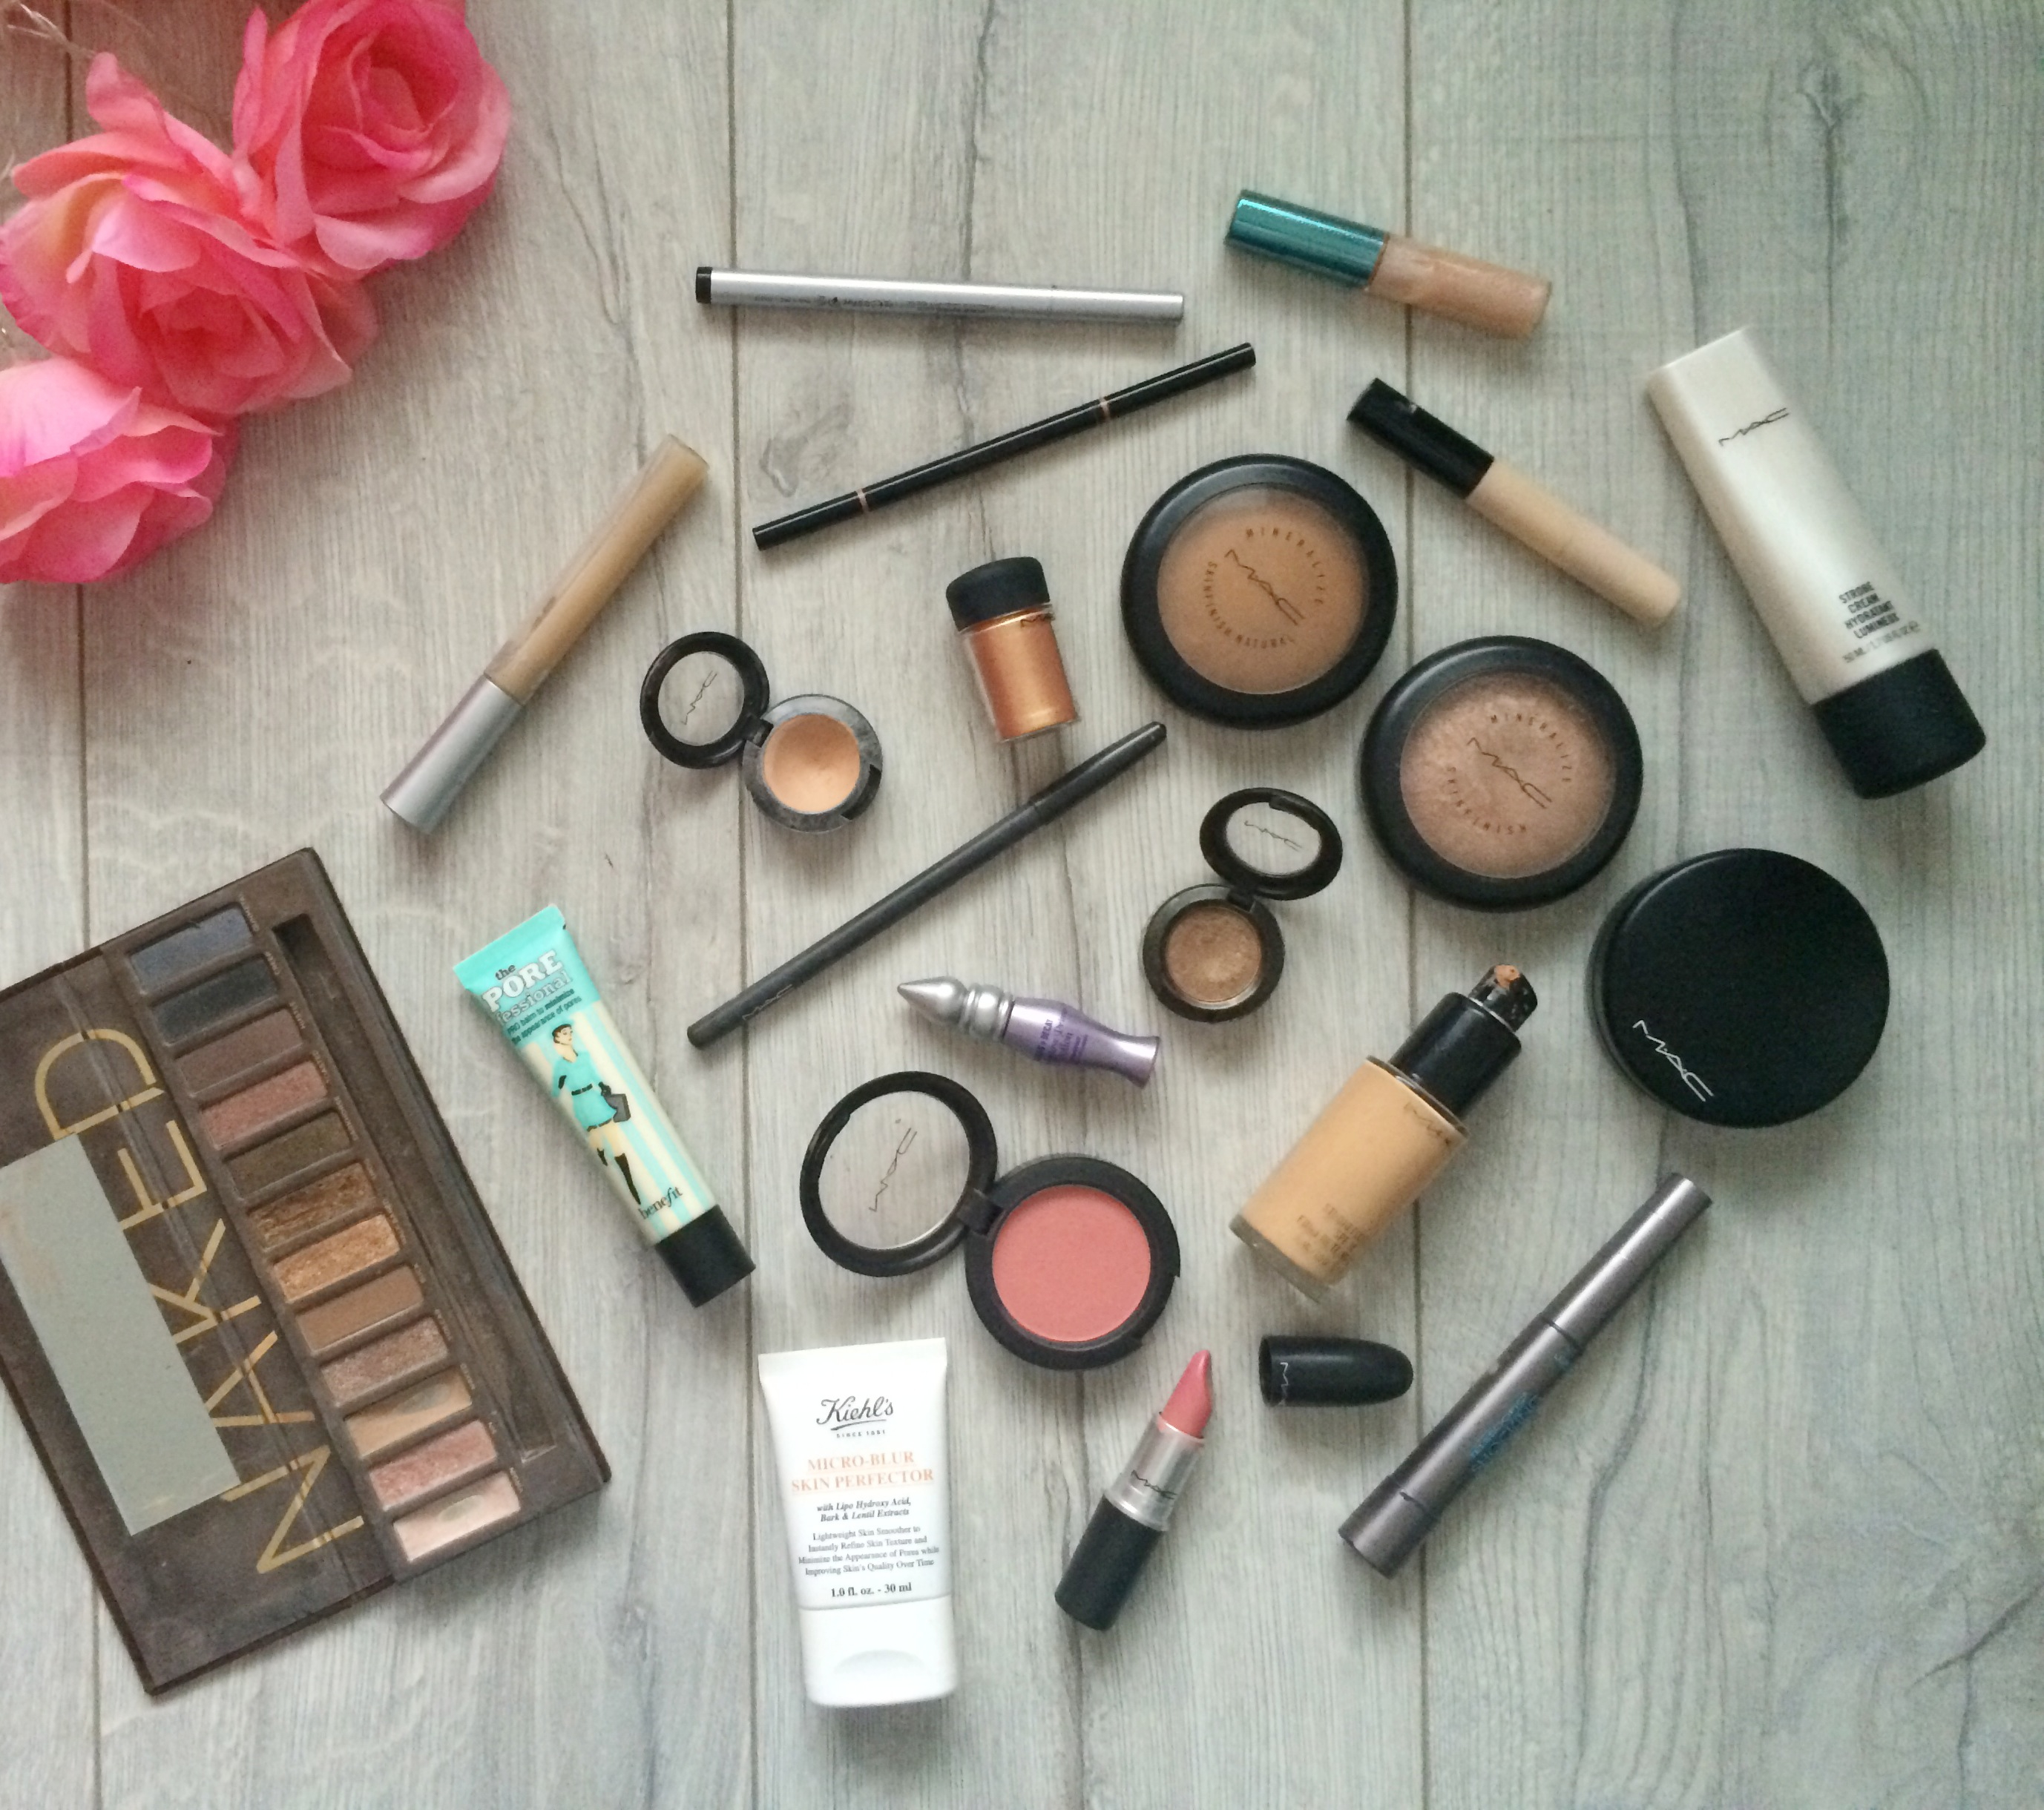
Usually for a big occasion I’d go to MAC to get my makeup done, but seeming as I had family staying I wanted to get ready at home and soak up the excitement. I was going for a summery look, with a gold/brown eye and a bronzed and highlighted base. Because it was going to be quite a long day, I had to make sure that my makeup would last. I used Kiehl’s Micro-Blur Skin Perfector, as well as Benefit Porefessional Primer to give a nice even base and add longevity to my makeup. I used a small bit of MAC Strobe Cream on my forehead, chin and under my eyes to create an illuminated base.
I used my trusty MAC Studio Fix foundation in NW20 to match my tan, which gave a flawless finish. I concealed spots and redness using MAC Studio Finish concealer and Collection Lasting Perfection concealer under my eyes.
I primed my eyelids with Urban Decay Eyeshadow Primer Potion, and used the Naked Palette for my gold, smokey eye look. I mostly used the first seven colours in the palette, starting with a champagne base and light brown in the crease and building it up. I added in a bit of MAC Woodwinked eyeshadow to the crease as this is one of my favourite colours, as well as MAC Melon pigment in the centre of my eye so the colour stood out in photographs. I used a thin line of Eyeko liquid liner along my lashes before applying a natural set of Eyelure lashes. I used MAC Coffee eye pencil along the rim of my eye and smudged some into the lower lash line. I added L’Oreal Telescopic Waterproof mascara to my bottom lashes also.
As per usual, I used Anastasia Brow Wiz and Collection clear mascara to fill in and set my brows.
I used MAC blush in Fleur Power to add a pop of colour to my cheeks. I then used MAC Mineralise Skin Finish in Give Me Sun to contour my cheekbones, along my temples and down my neck. I used MAC MSF in Soft & Gentle to highlight my cheekbones and under the arch of my eyebrows and on my cupid’s bow also. Finally, I used MAC MSF in Natural to set everything in place. As you can tell, I absolutely love the MAC MSF range!
I used MAC Creme Cup on my lips, with a dab of Clear Water gloss on top for shimmer.
My aunt applied Broadway false nails in ‘very short’ for me the night before, and they lasted three days without falling off. They gave nice length to my nails while still being able to type on my phone! I got a spray tan done the night before, where they used Lauren’s Way tan. The tan was an absolutely gorgeous shade and didn’t look orange at all, but wore off quickly after two days.
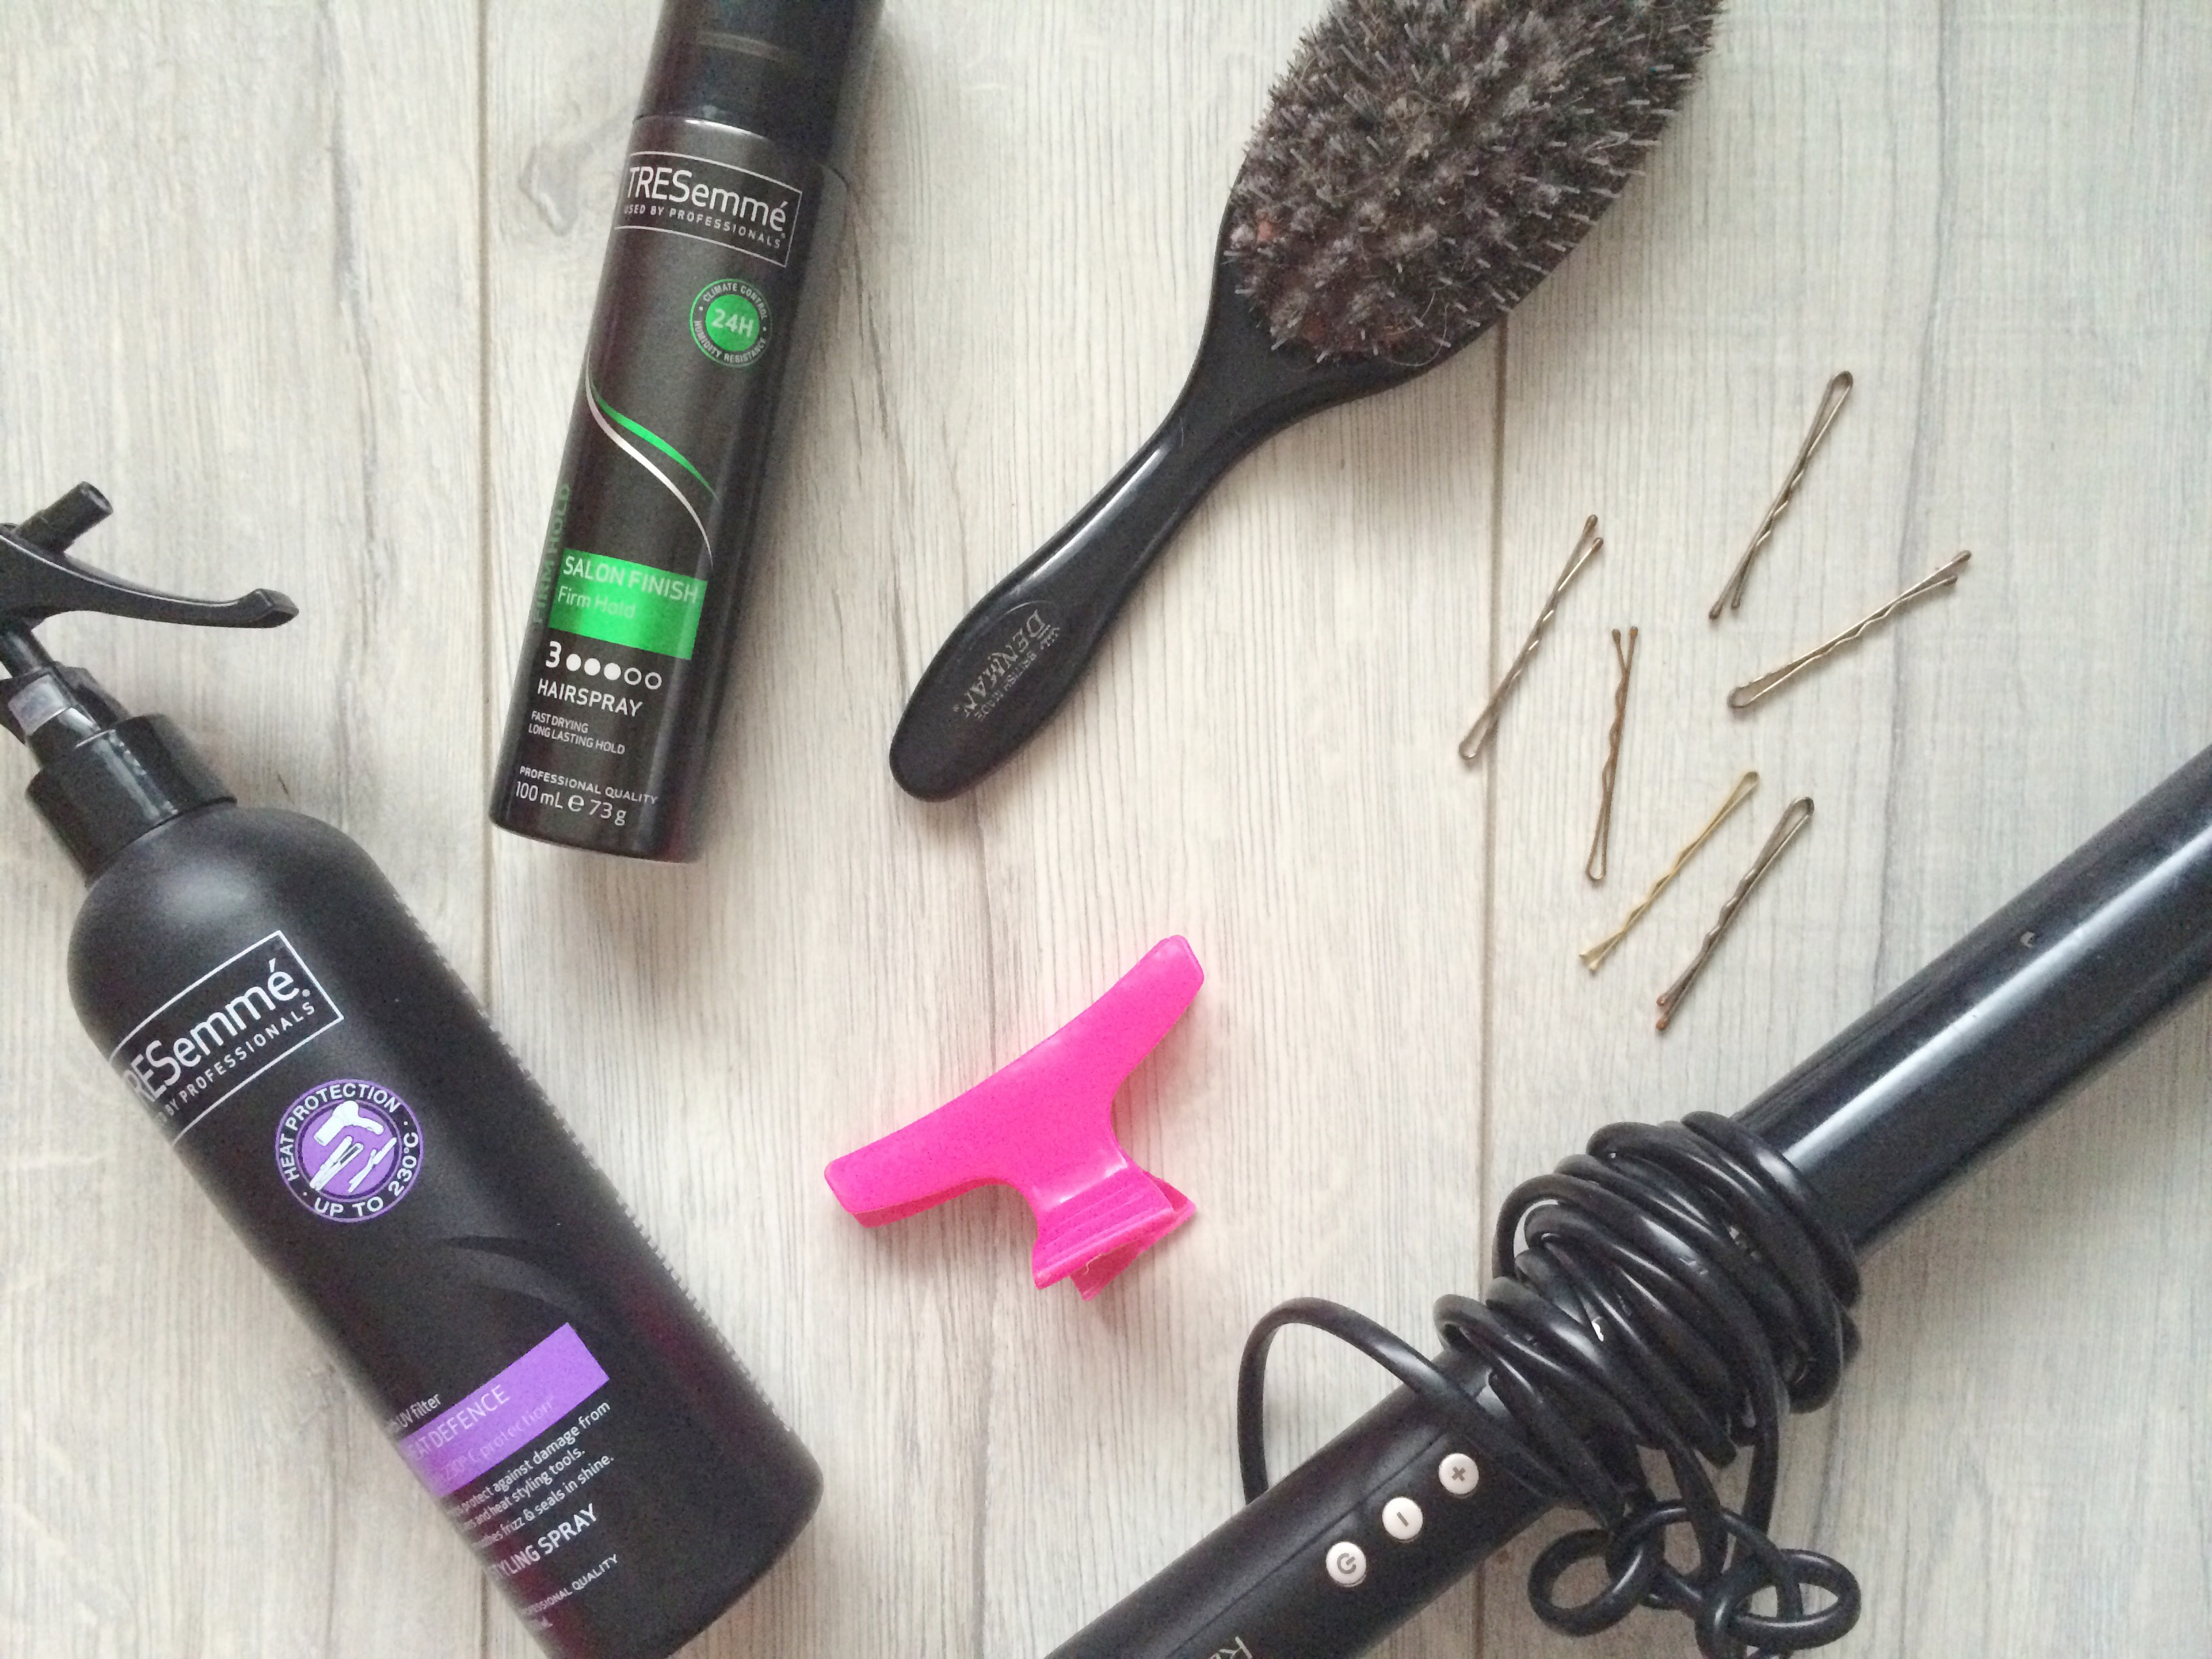
I washed my hair the night before so it would hold a curl the next day, which really made a difference. I started by splitting my hair into sections as I worked from the neck up, separating it with a crocodile clip. I used my Remington curling wand to curl two-inch sections of my hair before holding the curl and pinning it up with bobby pins and spraying with hair spray. I continued this all the way up my head, before taking the pins out. By keeping the curl in shape with the pin it meant they would last the whole day without dropping down.
It was such a brilliant day, the countdown is on for the next wedding!
Let me know what you think in the comments and if you’ve been to any weddings this summer!